Steeped in cultural heritage across various societies, serve as more than just fashionable accessories. Embedded within their shimmering strands is a rich tapestry of cultural significance and personal expression. Originating from African traditions, these beads symbolize femininity, spirituality, and the celebration of one's body. They offer a means of self-expression, reflecting a woman's individuality, sensuality, and journey through life.
Understanding Waist Bead Sizing
Waist beads come in a diverse array of sizes, and finding the perfect fit is crucial for both comfort and aesthetics. Here's a breakdown of sizing systems and how various factors influence your ideal strand:

Sizing Systems
- Inches: This is the most common system in the West, with waist beads typically ranging from 32" to 52". Some shops may offer standard sizes (S, M, L) corresponding to specific inch ranges.
- Centimeters: Primarily used in African countries, centimeters provide a more precise measurement, especially for intricate designs. Popular lengths range from 80 cm to 130 cm.
- Clothing Size: Some shops simplify things by offering waist beads based on your usual clothing size (e.g., US dress size). However, keep in mind that this can be less accurate due to body variations.
Factors Influencing Size
- Bead Size: Smaller beads like seed beads require shorter strands for a comfortable fit, while larger beads might need longer lengths to prevent digging into your skin.
- Material: Heavier materials like metal or ceramic may necessitate looser sizing, while lightweight glass or plastic beads can sit snugly without discomfort.
- Design: Single strands typically require a snug fit, while multiple strands layered together may need an additional inch or two for comfortable movement. Some intricate designs with clasps or spacers might have specific recommended lengths.
Tools You'll Need For Measuring
Here are the tools you'll need to measure for waist beads:
Soft Measuring Tape
- Purpose: The most accurate and convenient tool for measuring your waist circumference.
- Shape: Flexible and bendable, it contours to your body's curves for precision.
String and Ruler
- Purpose: A simple alternative if you don't have a measuring tape.
- Method: Wrap the string around your waist comfortably, mark the point where it meets, and then measure the length of the string against a ruler.
Tailor's Tape Measure
- Purpose: While less flexible than a soft measuring tape, it can still provide accurate measurements.
- Important: Ensure it's not too rigid to conform to your body's shape.
Piece of Clothing
- Purpose: A last resort if you lack other tools.
- Method: Lay a well-fitting pair of pants or a skirt flat, measure the waist, and double the measurement for your waist circumference.
See Also: Arizona Gemstones - Where To Find The Best Stones?
Key Tips
- Measure While Relaxed: Stand naturally and breathe comfortably for an accurate measurement.
- Measure at Your Desired Position: Place the tape where you'd like the waist beads to sit (around the belly button, natural waist, or hips).
- Keep it Snug, Not Tight: The tape should feel comfortable, not constricting or loose.
- Round Up: If you're between sizes, round up to ensure a comfortable fit.
- Account for Materials: Consider adding an inch or two for heavier beads or multi-strand designs.
Measuring Your Waist Correctly
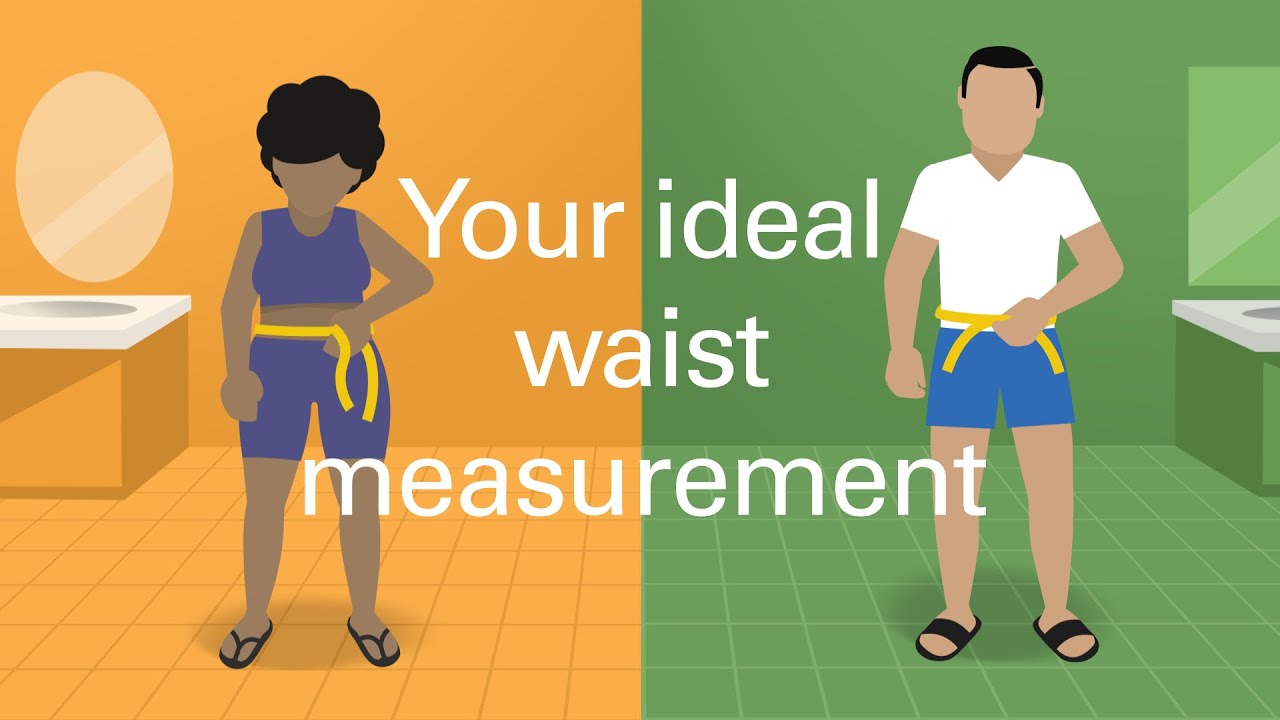
How to measure your waist circumference
Finding the right spot to measure your waist or hips for waist beads can be tricky, but it's crucial for ensuring a comfortable and flattering fit. Follow these steps for accurate measurements:
Choose Your Measuring Location
- Waist: Measure around your natural waist, the narrowest part of your torso, usually just above your belly button.
- Hips: For lower placement, find the widest part of your hips, typically just below your hip bones.
- Above Belly Button: For a higher placement, measure approximately two inches above your belly button.
Prepare Your Tool
- Soft Measuring Tape: Lay it flat and ensure the "0" end is clearly marked.
- String and Ruler: If using this alternative, tie one end of the string to mark the meeting point.
Stand Tall and Breathe Easy: Stand with your feet shoulder-width apart and relax your posture. Breathe normally and avoid sucking in your stomach.
Wrap and Meet
- Soft Tape Measure: Hold the "0" end at your back and gently wrap the tape around your chosen location, keeping it parallel to the floor. Bring the ends together comfortably without digging in.
- String: Wrap the string snugly around your chosen location, mark the meeting point with a knot, and lay it flat to measure against the ruler.
Read and Round Up: Note the number where the ends meet on the tape measure or ruler. If you land between half inches, round up for a more comfortable fit.
Related: 8 Best Horse Shoe Necklaces For Luck 2024
Pro Tips
- Double-Check: Take at least two measurements to ensure accuracy.
- Consider Fluctuation: If your weight fluctuates, add an extra inch or two to accommodate potential changes.
- Personal Preference: Ultimately, choose the location that feels most comfortable and aesthetically pleasing to you.
Adjusting For Comfort And Style
Once you've nailed your waist or hip measurement, the next step is adjusting it for your desired fit and personal style. Here's your guide to achieving snugness, flow, or anything in between:
Snug Vs. Loose: Finding Your Sweet Spot
- Snug Fit: Prefer feeling your beads against your skin? Subtract 0.5 to 1 inch from your base measurement for gentle contact without tightness.
- Loose Fit: Enjoy the cascading movement of looser beads? Add 1 to 2 inches to your base measurement for comfortable movement and a relaxed aesthetic.
Bead Size Matters
- Small Beads(seed beads, glass beads): Add 0.25 to 0.5 inches extra to your desired fit. Smaller beads tend to sit closer together, requiring slightly more space for comfort.
- Large Beads(metal beads, ceramic beads): Subtract 0.25 to 0.5 inches from your desired fit. Larger beads can feel bulky if too close, so a slightly looser fit is ideal.
Style Savvy: Design Considerations
- Single Strand: Stick to your desired fit measurement (snug or loose) for a simple, close-fitting look.
- Multiple Strands: Add 0.5 to 1 inch for each additional strand to avoid bunching or tightness. Layering needs more room to move gracefully.
- Intricate Designs: Some designs with clasps or spacers might have specific recommended lengths. Follow the designer's guidelines for optimal fit and function.
Accounting For Weight Fluctuations

Weight fluctuations are a natural part of life, and thankfully, so can your waist beads! With a little extra planning and clever designs, you can ensure your beautiful adornments stay comfortable and stylish throughout your body's ebbs and flows.
Measuring With The Future In Mind
- Base Measurement: Follow the steps to find your desired fit (snug or loose) around your waist or hips. This is your starting point.
- Fluctuation Allowance: Consider your typical weight range and estimate the maximum fluctuation you might experience (e.g., +/-5 pounds).
- Add or Subtract:
Designs For Flexibility
Embrace the adaptability of these options:
- Stretch Cord: Opt for waist beads strung on stretchy elastic cord. This allows for comfortable adjustments as your body changes.
- Clasps and Closures: Choose strands with clasps or adjustable closures to easily modify the length on the go.
- Multiple Strands: Layer beads of different lengths to create a dynamic look that can be easily added to or removed as needed.
Remember
- Personalize It: Adjust the tightness or looseness based on your comfort level and preferred style.
- Start Longer: It's easier to remove beads than add them later, so err on the side of a slightly longer strand initially.
- Embrace Change: View your waist beads as a dynamic accessory that evolves with you. Enjoy the process of adapting them to your body's journey!
Caring For Your Waist Beads After Fitting
Once you've found the perfect fit for your waist beads, it’s essential to learn how to care for them so they can grace your body and spirit for years to come. Here's your guide to maintaining their beauty and ensuring a comfortable, long-lasting relationship with your beloved adornments:
Cleaning For Shine And Serenity
- Frequency: Gently cleanse your beads once a week or after sweating heavily.
- Method: Soak the beads in lukewarm water with mild soap for 5-10 minutes. For delicate materials, use a soft cloth with soapy water instead. Rinse thoroughly under clean running water.
- Drying: Lay the beads flat on a clean towel or air-dry them in a cool, well-ventilated place. Avoid direct sunlight or heat, as it can damage certain materials.
- Special Materials: For specific materials like wood, metal, or ceramic, check with the vendor for recommended cleaning methods.
Storage Solutions For Safekeeping
- Jewel Box: Store your beads in a soft-lined jewelry boxto prevent scratches and tangles. Compartments are ideal for separating different strands.
- Silk Pouch: A soft silk pouch offers gentle protection and prevents dust accumulation.
- Hanging Display: If you want to showcase your beads, hang them on a decorative display stand or wall hook. Use soft fabric between the beads and the hooks to avoid damage.
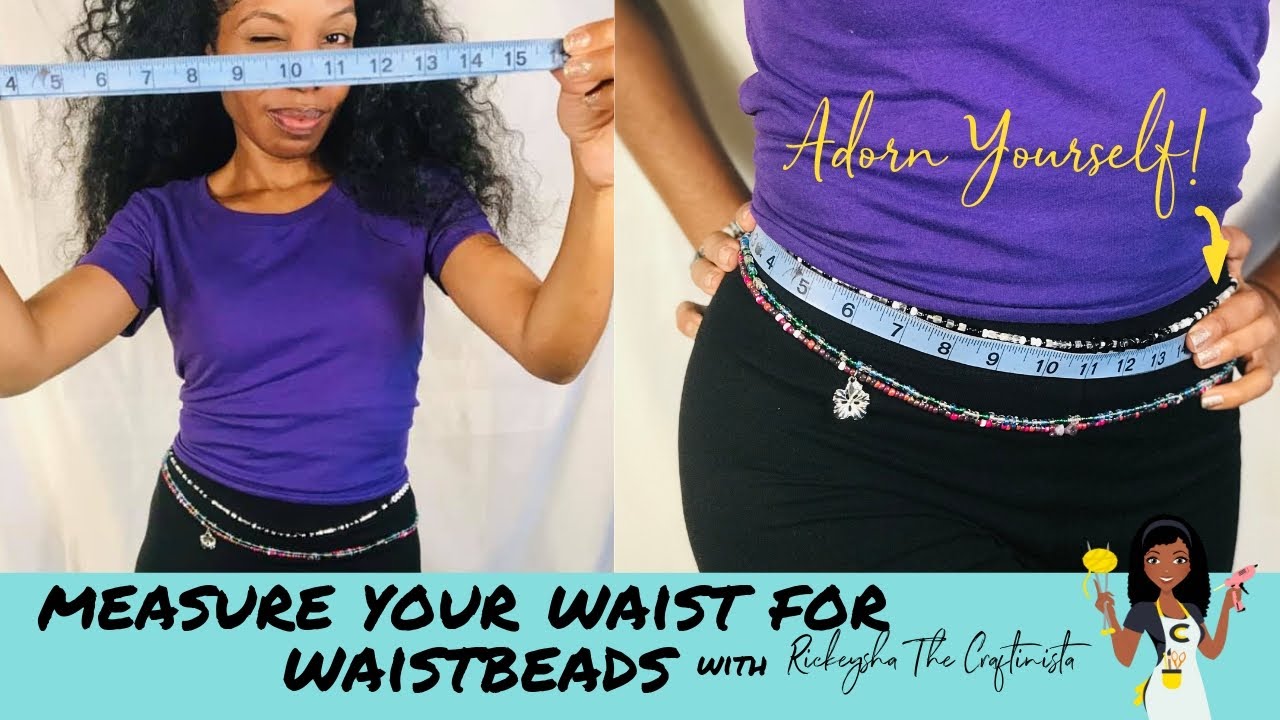
How to Measure Your Waist for Waistbeads EASY
Adjusting For Change
Your body and life might change, and so can your waist beads! Here's how to handle size adjustments at home:
Too Tight:
- For Stretch Cord: If your beads are strung on elastic, gently stretch them to gain some extra room. Be careful not to overstretch as it can damage the cord.
- For Knotted Strands: If your beads are knotted, carefully untie a few knots to loosen the strand. Use a needle and thread to retie them once you've achieved the desired fit.
Too Loose:
- For Clasps: If your beads have a clasp, simply adjust it to a tighter setting.
- For Tied Strands: If your beads are knotted, retie them closer together to shorten the strand. This is a permanent adjustment, so ensure you're happy with the new length before proceeding.
Bonus Tips
- Avoid Harsh Chemicals: Keep your beads away from perfumes, lotions, and hairspray, as these can damage certain materials.
- Remove for Activities: Take off your beads during swimming, showering, or exercising to prevent wear and tear.
- Listen to Your Beads: Pay attention to any loose knots or damaged threads. Address minor issues promptly to prevent further damage.
FAQs About How To Measure For The Perfect Fit Waist Beads
Can I Adjust My Waist Beads If They Don't Fit Right?
Yes, you can adjust them by adding or removing beads if they are strung on elastic. For knotted strands, you may need to retie the knots for a better fit.
How Often Should I Clean My Waist Beads?
It's recommended to gently cleanse your waist beads once a week or after heavy sweating to keep them looking their best.
Are There Specific Materials That Require Different Care?
Yes, certain materials like wood, metal, or ceramic may need specific cleaning methods. Always check with the vendor for care instructions.
What Should I Do If My Waist Beads Feel Too Tight?
If your waist beads feel tight, try adjusting them or consider adding a few inches to your measurement for a more comfortable fit.
Conclusion
Measuring for the perfect fit waist beads is more than a practical step; it's a journey into self-discovery and cultural appreciation. By understanding the sizing systems, utilizing the right tools, and considering personal preferences and body fluctuations, you can ensure that your waist beads fit comfortably and beautifully.
Read Also: 5 Ways To Clean Rose Gold Jewellery For Lasting Shine