![How To Make Jewelry From Scratch? [Affordable DIY Projects]](https://www.grimballjewelers.com/wp-content/uploads/2024/11/cf42578087f562cb/how-to-make-jewelry.jpeg)
Crafting your own jewelryis not only a creative outlet but also a rewarding experience that allows you to express your style. Imagine wearing a bracelet or necklace you created, or gifting a handmade pair of earringsto someone special. With the right tools, techniques, and materials, jewelry-making can be accessible to anyone.
Why Make Your Own Jewelry?
Handcrafted jewelry is more than just a creative activity - it’s a personal statement. Making your own pieces lets you:
- Showcase your unique style and creativity.
- Save moneyby creating high-quality designs yourself.
- Craft personalized gifts for loved ones.
- Potentially start a businessby turning your passion into a profitable venture.
Additionally, working with your hands can be both meditative and fulfilling, making jewelry-makinga hobby with emotional and artistic benefits.
Basic Tools And Materials
Tools You’ll Need
Starting small ensures a smooth learning curve. These tools are essential for beginners:
- Round-Nose Pliers: Perfect for making loops and bending wire.
- Flat-Nose Pliers: Ideal for gripping and securing components.
- Wire Cutters: Necessary for cutting cords and wires cleanly.
- Bead Crimpers: Used to secure crimps for beaded designs.
- Ruler or Measuring Tape: Ensures accuracy in sizing.
- Hammer and Bench Block: Adds texture or strengthens metal.
Optional but helpful tools include tweezers for small items, a bead reamer for enlarging holes, and organizers to keep your workspace tidy.
Essential Materials
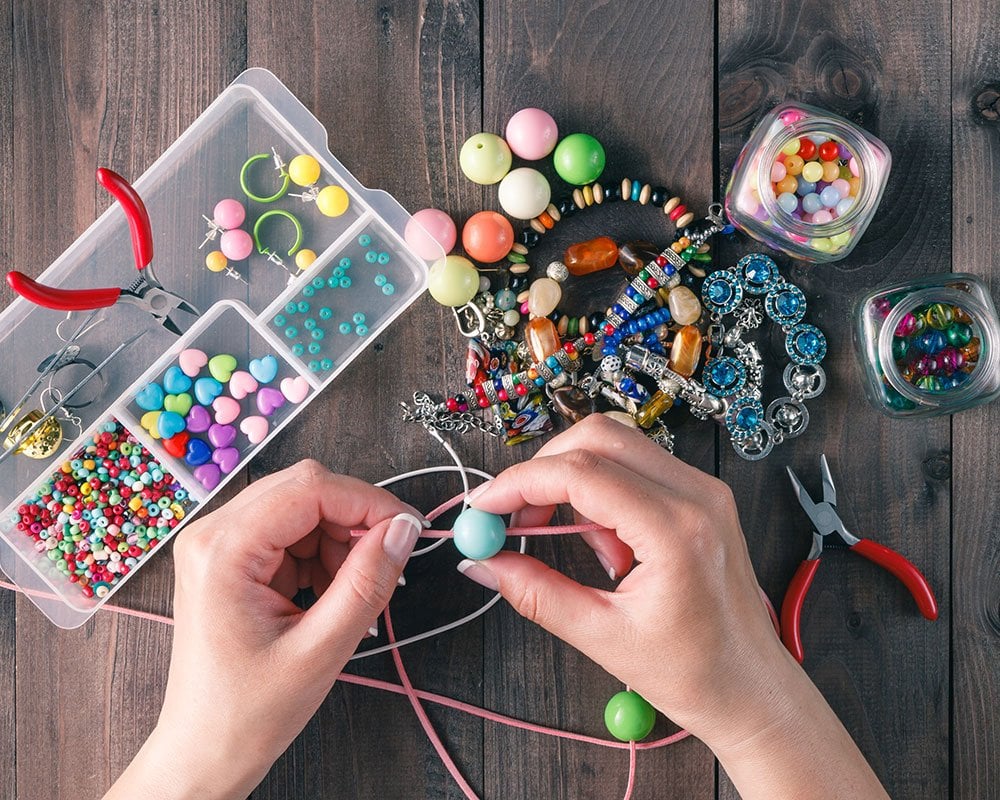
The materials you choose depend on the type of jewelry you want to create. Some beginner-friendly options include:
- Beads: Available in endless shapes, sizes, and materials like glass, wood, or gemstones.
- Wires: Used for wrapping, stringing, or creating structural designs.
- Chains and Clasps: Form the backbone of necklacesor bracelets.
- Stretch Cords: Ideal for beaded bracelets.
- Findings: Components like jump rings, headpins, and earring hooks that connect designs.
Step-by-Step - How To Make Jewelry
Here’s a detailed guide to creating a simple beaded necklace - an excellent starting project for beginners.
Step 1: Plan Your Design
Before you begin, sketch a design to visualize the finished piece. Decide on colors, patterns, and materials that match your vision. For inspiration, explore online boards or browse local craft stores.
Step 2: Prepare Materials
Gather your beads, wire, findings, and tools. Measure the desired length for your necklace and cut the wire 3-4 inches longer than that measurement to allow for finishing.
Step 3: Secure One End
Thread a crimp bead onto one end of the wire, followed by a closed jump ring. Loop the wire back through the crimp bead and use crimping pliers to secure it. This ensures a strong foundation for your necklace.
Step 4: String The Beads
Carefully thread your beads onto the wire in your chosen pattern. Take your time to ensure the design looks balanced. Periodically check the length by wrapping it around your neck.
Step 5: Finish The Necklace
When you’ve reached the desired length, secure the other end by threading a crimp bead and a jump ring, looping the wire back through the crimp bead, and securing it with pliers. Attach a clasp to one of the jump rings to complete the necklace.
Step 6: Final Touches
Inspect your necklace for any loose components. Use your flat-nose pliers to ensure all findings are tightly secured. Consider polishing metalcomponents for a professional finish.
Read Also: Luxury Diamond Jewelry
Popular Jewelry-Making Techniques
Exploring various techniques will broaden your skills and creative possibilities:
- Wire Wrapping: Wrap wire around beads or pendantsto create intricate designs. This method is beginner-friendly and versatile.
- Beading: Thread beads onto cords or wires to craft necklaces, bracelets, or earrings.
- Metal Stamping: Add personalized text or designs to metal components using stamps and hammers.
- Resin Jewelry: Encapsulate small objects or pigments in resin to create glossy, durable pieces.
Start with simpler techniques and gradually advance to more complex methods like soldering or casting.
Tips For Designing Unique Jewelry
Creating standout pieces involves thoughtful planningand attention to detail. Here’s how to make your designs shine:
- Find Inspiration: Explore local craft stores, vintagepieces, or even nature for ideas.
- Sketch Your Vision: Drawing your design helps refine your concept and plan materials.
- Experiment with Materials: Mix textures and colors, like combining metal with leather or gemstones.
- Test for Wearability: Ensure your design is comfortable and practical.
Remember, imperfections often add charm and character to handmade jewelry.
Setting Up Your Workspace
Jewelry-making requires precision, so a well-organized workspace is crucial. Choose a sturdy, well-lit table where you can comfortably sit for long periods. Keep your tools within reach and use storage boxes or jars to organize beads and findings. If working with metals or resin, ensure proper ventilationand safety gear, including goggles and gloves.
Common Beginner Mistakes And How To Avoid Them
Avoid frustration by learning from these common pitfalls:
- Incorrect Measurements: Always measure twice to ensure a perfect fit.
- Using the Wrong Tools: Invest in quality tools designed for jewelry-making.
- Neglecting Finishing Touches: Secure knots and crimps thoroughly to prevent your designs from falling apart.
- Overloading Designs: Balance your pieces by limiting the number of elements.
Patience and practice will help you improve over time.
Advanced Techniques And Next Steps
As you gain confidence, challenge yourself with advanced methods:
- Soldering: Join metal components for seamless, durable designs.
- Casting: Use molds and molten metals to create intricate shapes.
- Stone Setting: Secure gemstones in prongs or bezels for a polished look.
Consider taking classes or following online tutorials to expand your skills. If you’re interested in selling your jewelry, research pricing strategies, branding, and marketing.
FAQs About Jewelry Making
What’s The Best Type Of Jewelry For Beginners To Make?
Start with simple beaded bracelets or necklaces. These projects are straightforward and help you practice basic techniques.
How Much Does It Cost To Start Making Jewelry?
Beginner tools and materials can cost between $50 and $100. As you progress, you might invest more in specialized equipment.
Can I Sell The Jewelry I Make?
Many hobbyists turn their passion into a business. Focus on creating high-quality, unique designs to stand out.
What Tools Do I Need To Start?
Essential tools include pliers, wire cutters, a ruler, and crimping tools. Advanced projects may require soldering kits or kilns.
How Long Does It Take To Learn Jewelry-making?
With regular practice, you can master basic techniques in a few weeks. Advanced methods may take months or years to perfect.
Final Thoughts
Jewelry-making is a skill that combines creativity with craftsmanship, offering endless opportunities for self-expression. By starting with simple projects and gradually building your skills, you can create stunning pieces for yourself, loved ones, or even a broader audience.
Embrace the process, experiment with materials, and enjoy the satisfaction of bringing your designs to life. With patience and practice, your handmade jewelry will become a testament to your artistic vision and dedication.
You Might Like: Birthstone Jewelry For Wives

